
Install the extension
Set up the Escourtly Chrome extension, pin it, and sign in. One time, about two minutes.
The extension is how you record. Install it once and it stays out of your way until you need it.
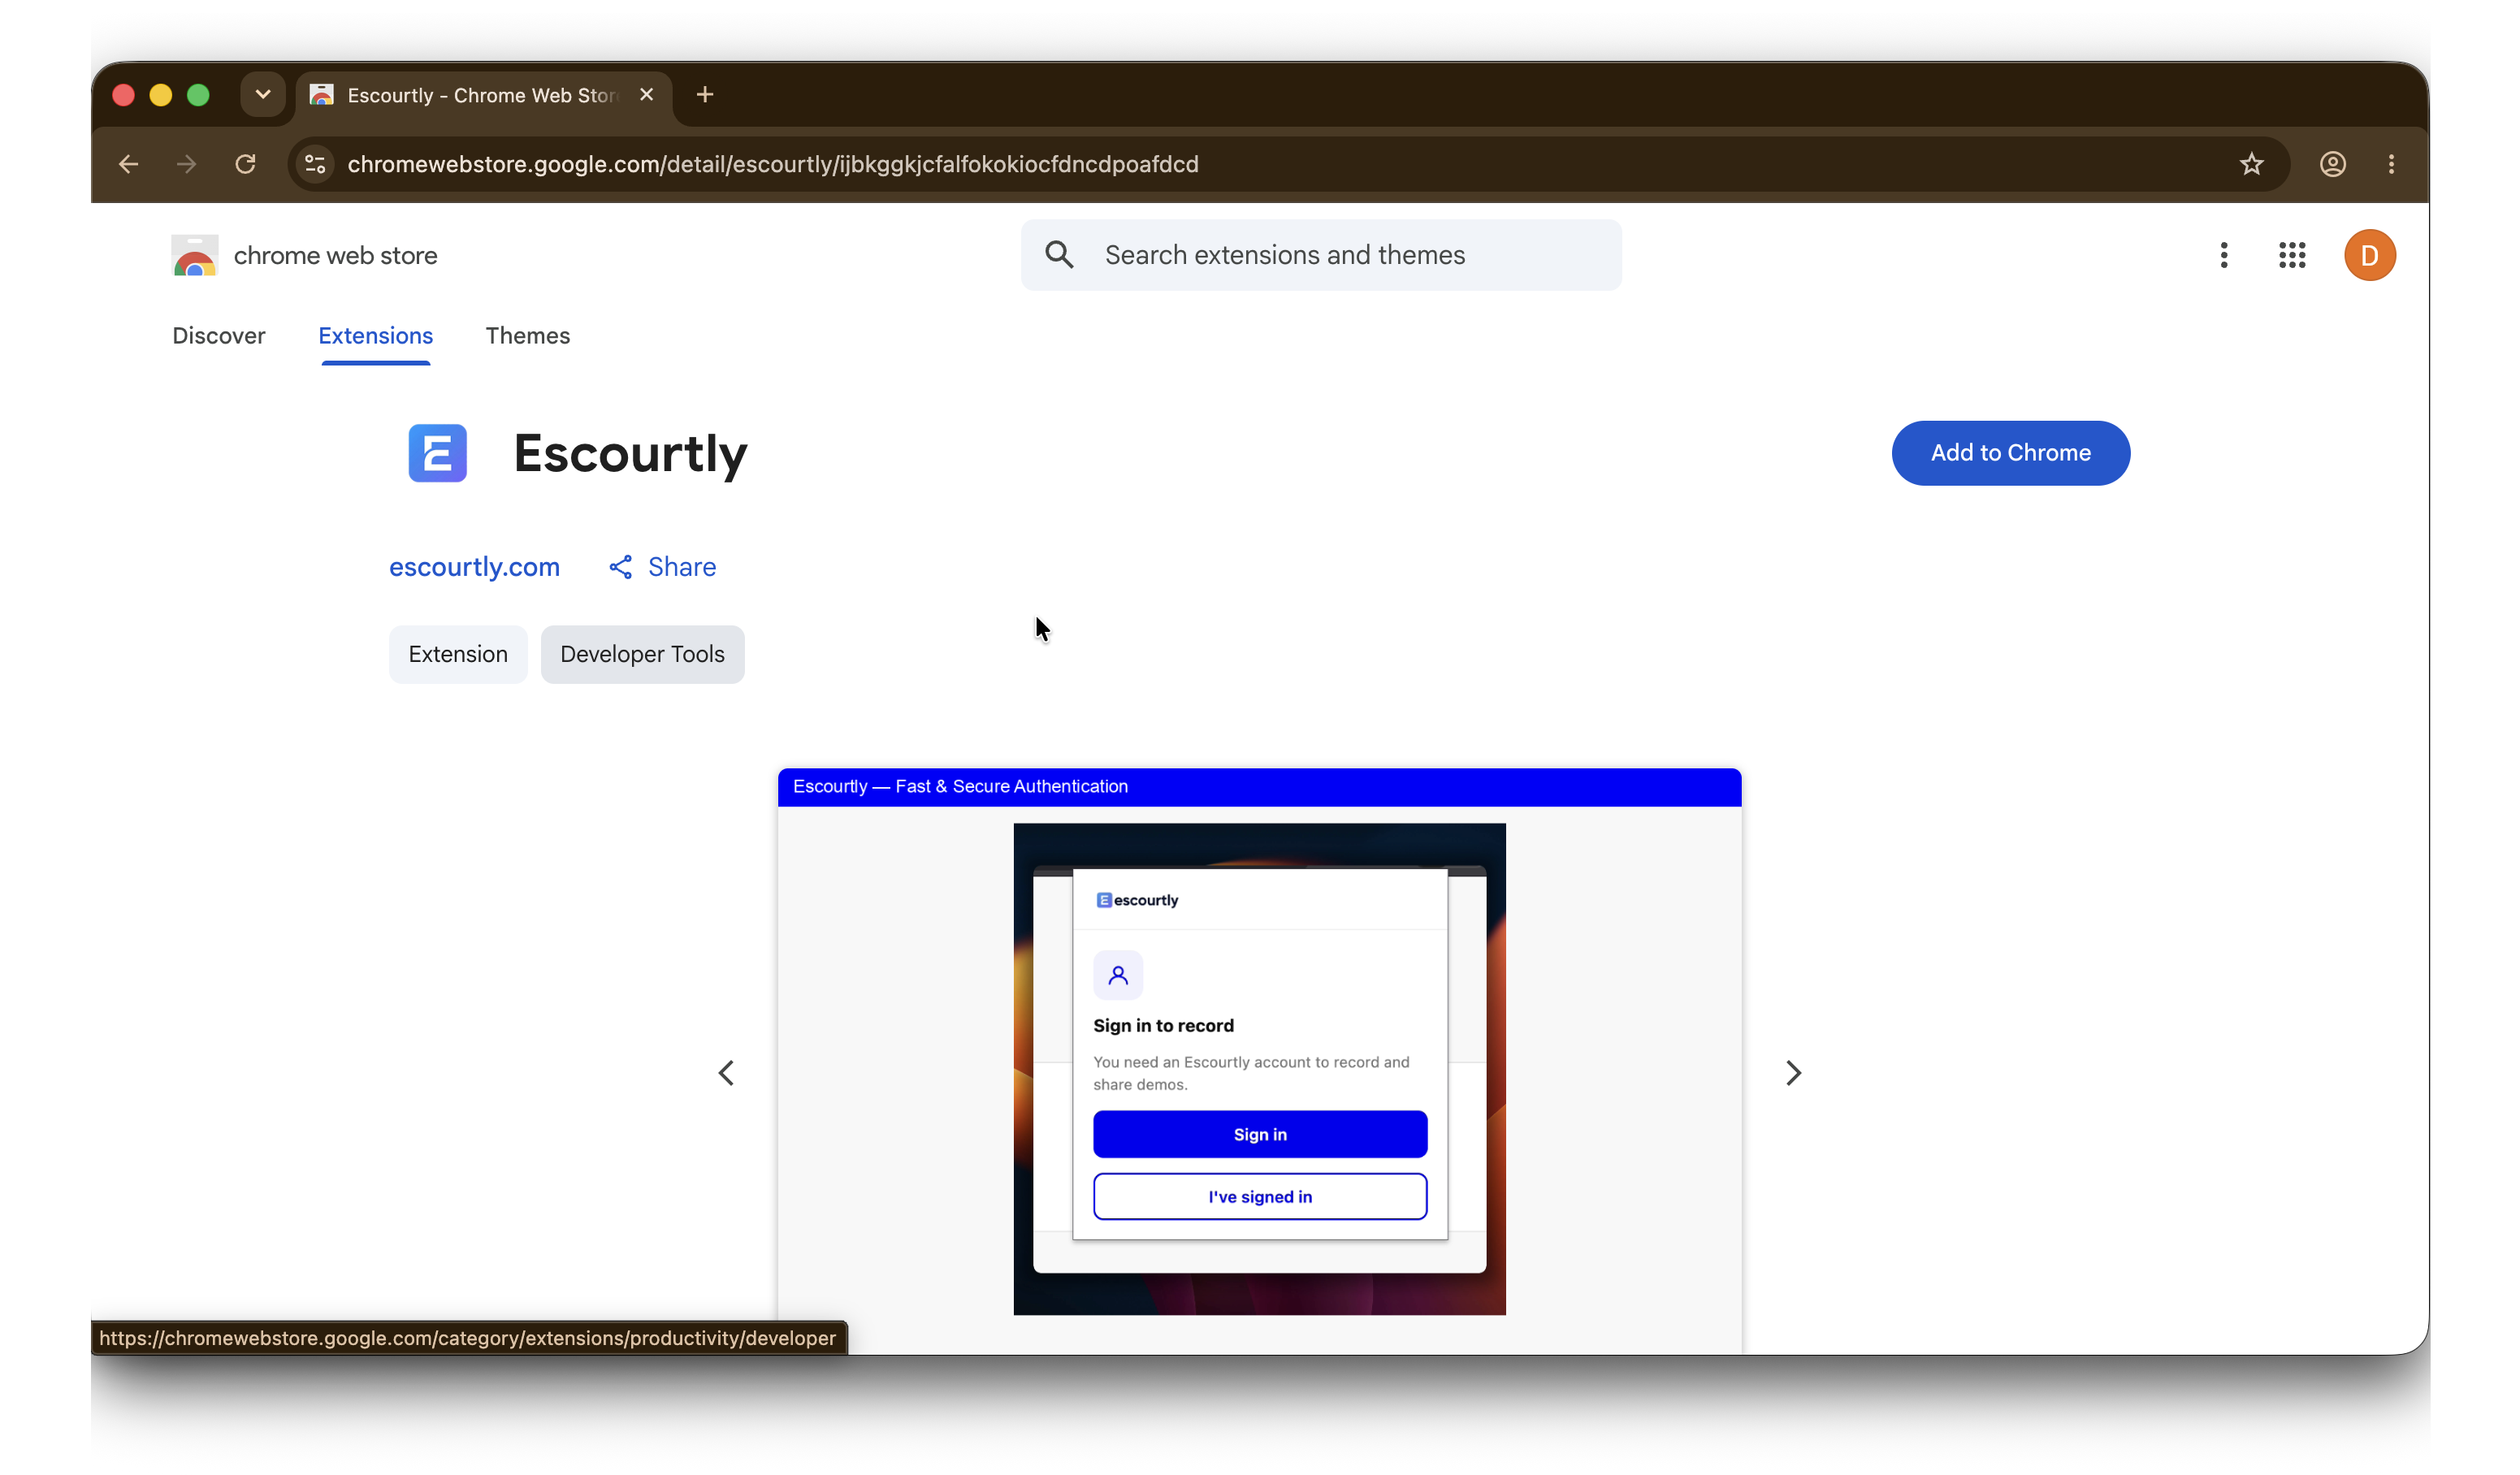
Add Escourtly to Chrome
Install the extension from the Chrome Web Store, then click Add to Chrome and confirm.
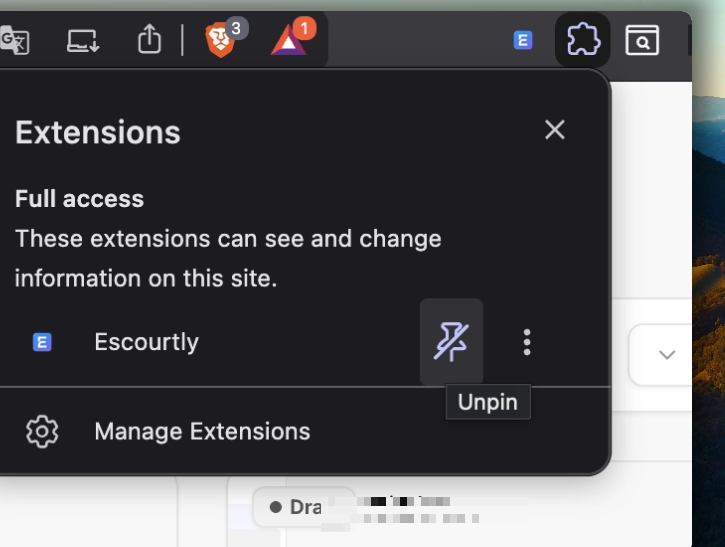
Pin it to your toolbar
Click the puzzle piece icon in Chrome's toolbar, find Escourtly, and click the pin. You'll be opening it at the start of every recording, so keep it one click away.
Sign in to Escourtly
The extension uses your escourtly.com session. Open escourtly.com and sign in (or create an account and verify your email). Then click the extension icon: if you see Start recording, you're ready.
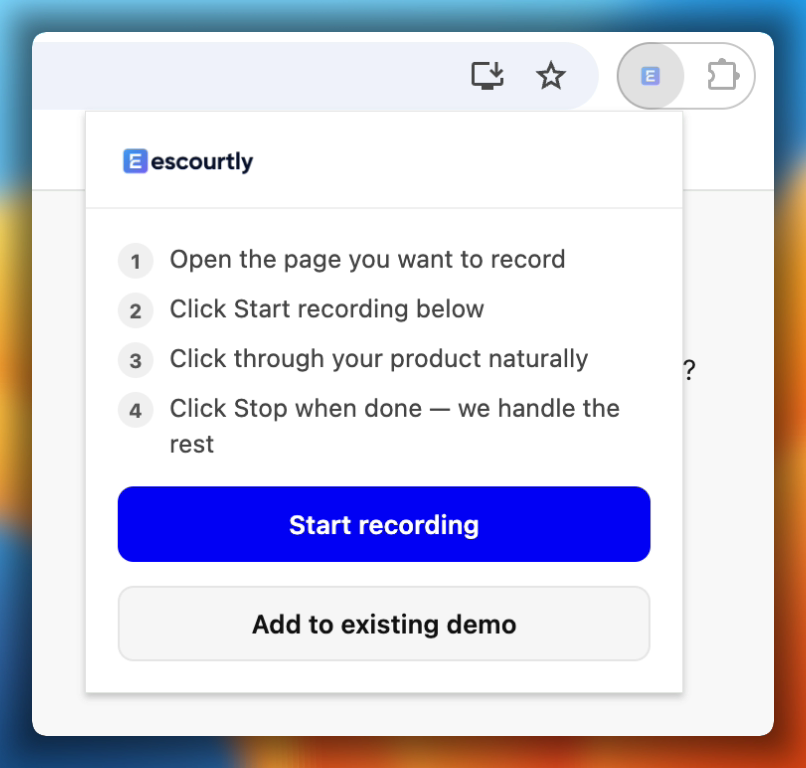
Seeing a sign-in prompt in the popup?
That means the extension can't find an active escourtly.com session. Click Sign in, log in on the tab that opens, then come back to the popup and hit I've signed in.
Permissions, explained honestly
Chrome will list a few permissions during install. Here is what each one is actually for:
| Permission | Why the extension needs it |
|---|---|
| Read and change data on websites | To capture the page you're recording. Capture only ever starts when you click Start recording, and only on that tab. |
| Cookies | To read your own escourtly.com session, so uploads land in your account. |
| Storage | To keep captured steps safe on your machine mid-recording, even if the page navigates or the browser hiccups. |
| Tabs | To follow your recording across page navigations within the tab. |
Escourtly never records in the background, never captures other tabs, and uploads only when you press Stop.
Next: record your first demo.